测试button点击的粒子爆炸效果
测试button点击的粒子爆炸效果
说些废话
这阵子老是在网上看到有比较炫酷的各种动画效果,比如点赞动画效果,撕裂效果,闪烁效果等等。近来无事,实现了其中的一种:粒子爆炸效果。其实要用的一个重要的属性,是CALayer的
CAEmitterLayer属性。
-
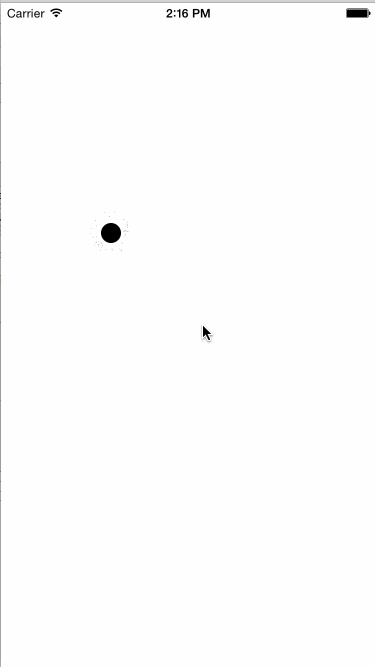
先加一个按钮:
- (void)viewDidLoad { [super viewDidLoad]; UIButton *btn = [[UIButton alloc] initWithFrame:CGRectMake(100, 220, 20, 20)]; [btn addTarget:self action:@selector(boom:) forControlEvents:UIControlEventTouchUpInside]; btn.backgroundColor = [UIColor blackColor]; btn.layer.cornerRadius = btn.frame.size.width / 2; [self.view addSubview:btn]; } -
在按钮的点击方法里,设置粒子的爆炸效果:
- (void)boom:(UIButton *)btn { CAEmitterLayer *emitter = [CAEmitterLayer layer]; [emitter setEmitterSize:CGSizeMake(CGRectGetWidth(btn.frame), CGRectGetHeight(btn.frame))]; emitter.emitterPosition = CGPointMake(btn.frame.size.width /2.0, btn.frame.size.height / 2.0); emitter.emitterShape = kCAEmitterLayerCircle; emitter.emitterMode = kCAEmitterLayerOutline; [btn.layer addSublayer:emitter]; CAEmitterCell *cell = [[CAEmitterCell alloc] init]; [cell setName:@"zanShape"]; cell.contents = (__bridge id _Nullable)([self createImageWithColor:[UIColor blackColor]].CGImage); cell.birthRate = 0; cell.lifetime = 0.4; cell.alphaSpeed = -2; cell.velocity = 20; cell.velocityRange = 20; emitter.emitterCells = @[cell]; CABasicAnimation *effectLayerAnimation=[CABasicAnimation animationWithKeyPath:@"emitterCells.zanShape.birthRate"]; [effectLayerAnimation setFromValue:[NSNumber numberWithFloat:1500]]; [effectLayerAnimation setToValue:[NSNumber numberWithFloat:0]]; [effectLayerAnimation setDuration:0.0f]; [effectLayerAnimation setTimingFunction:[CAMediaTimingFunction functionWithName:kCAMediaTimingFunctionEaseOut]]; [emitter addAnimation:effectLayerAnimation forKey:@"ZanCount"]; } -
可以提出出来作为扩展类别的有两个方法.
/** * 根据颜色返回一张图片 */ -(UIImage*) createImageWithColor:(UIColor*) color { CGRect rect = CGRectMake(0.0f, 0.0f, 1.0f, 1.0f); UIGraphicsBeginImageContext(rect.size); CGContextRef context = UIGraphicsGetCurrentContext(); CGContextSetFillColorWithColor(context, [color CGColor]); CGContextFillRect(context, rect); UIImage *theImage = UIGraphicsGetImageFromCurrentImageContext(); UIGraphicsEndImageContext(); return [self circleImage:theImage];; } /** * 返回一张圆形图片 */ -(UIImage*) circleImage:(UIImage*) image{ UIGraphicsBeginImageContext(image.size); CGContextRef context = UIGraphicsGetCurrentContext(); CGContextSetLineWidth(context, 2); CGContextSetStrokeColorWithColor(context, [UIColor greenColor].CGColor); CGRect rect = CGRectMake(0, 0, image.size.width , image.size.height ); CGContextAddEllipseInRect(context, rect); CGContextClip(context); [image drawInRect:rect]; CGContextAddEllipseInRect(context, rect); CGContextStrokePath(context); UIImage *newimg = UIGraphicsGetImageFromCurrentImageContext(); UIGraphicsEndImageContext(); return newimg; } -
效果图
最后附上DEMO testButtonBoom